


FRETS.COM
Thumbnail Article
Please click on the small images to see the large views.
An alternative to a custom made guitar
Left Hand Conversion
© Frank Ford 2003; Photos by FF
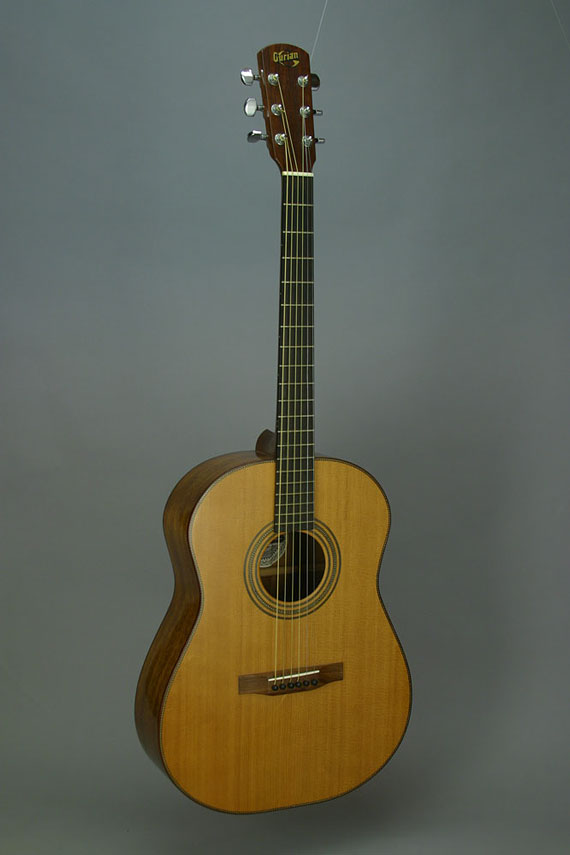
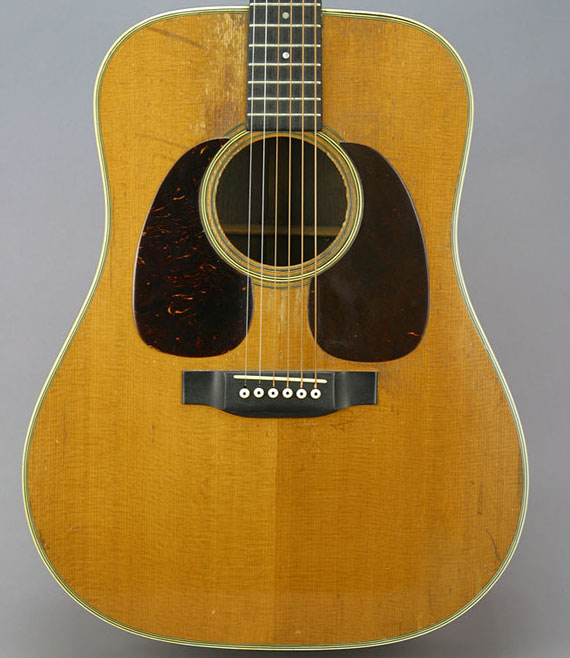
Here's a fine vintage Gurian guitar, a standard right handed instrument whose owner is a left handed player. The task at hand is to convert this guitar to left handed, which, by the way, presents no structural or tonal difficulties in most cases. I'll have to make a new nut to accommodate the reversed stringing; I'll have to reverse the compensation angle of the saddle to achieve good intonation up the neck.
If this were a classical guitar, with no saddle compensation angle, the conversion would be almost trivial. In fact, many classical guitars have wide enough slots in their nuts to allow reverse stringing with no modification at all. A mandolin or archtop jazz guitar would require a new lefty compensated bridge. A four string banjo needs only a new nut because its bridge can be reversed, while a five string banjo can't be converted at all for obvious reasons.
This article is an illustration of the general conversion process. If you'd like more detailed descriptions of the individual operations, take a look at the relevant articles in the Luthier's Section on the FRETS.COM Big Index Page. There you'll find in-depth discussions of nut and saddle making, as well as pickguard and edge dot installation.
| |
Fortunately, this guitar was made without a pickguard, so it won't look unusual in its lefty playing position. |
| |
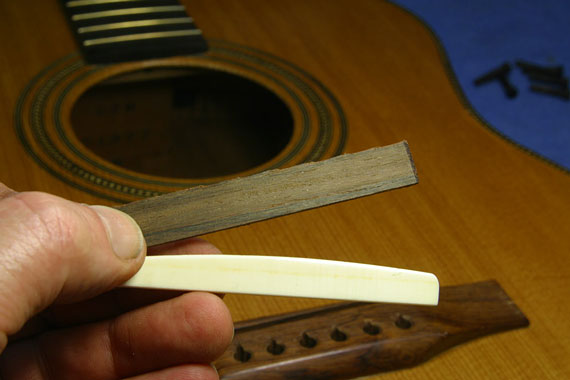
I start by making a duplicate of the original saddle in rosewood to match the material of the bridge. |
| |
It's square on top, but otherwise it's the same shape and size as the saddle, so it will fill the slot completely. |
| |
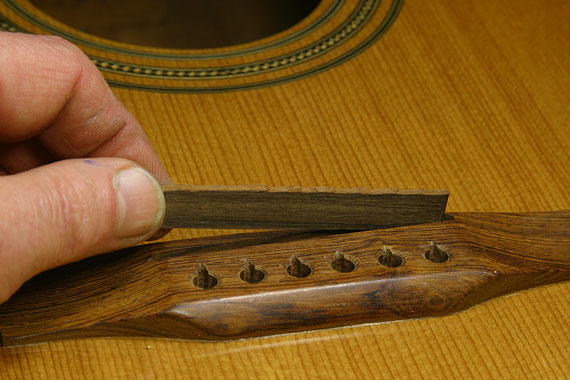
Clamped in place, with hot hide glue for a rigid mounting, I'll have to let this dry overnight. |
| |
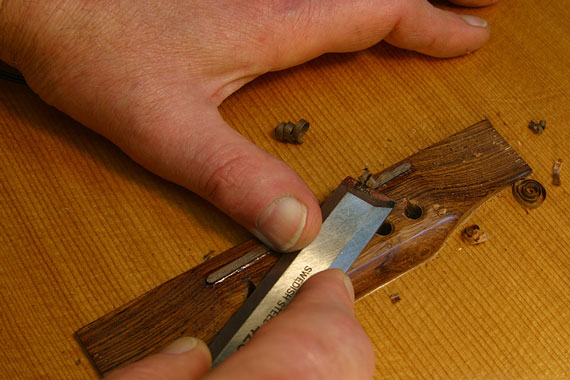
Next day, I can trim the filled area with a chisel, |
| |
and sand it flush. |
| |
Now the bridge is solid, as if it had been made without any saddle slot at all. |
| |
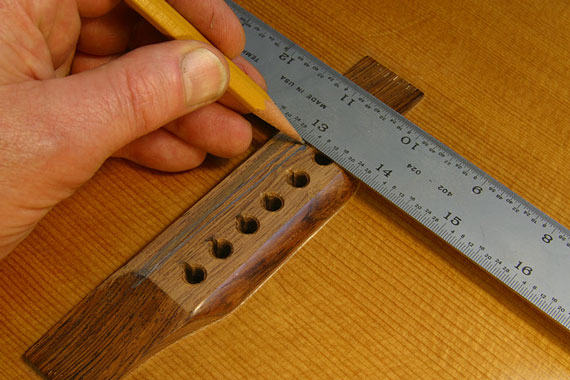
As I mark out the correct compensation, I notice that the original compensation was off by nearly an eighth inch toward the fingerboard. That meant the guitar played sharp up the neck for sure! |
| |
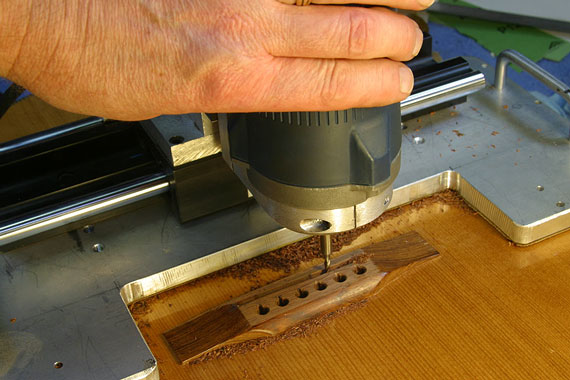
Setting my bridge saddle routing mill, I'm able to cut a very precise slot for the new saddle. |
| |
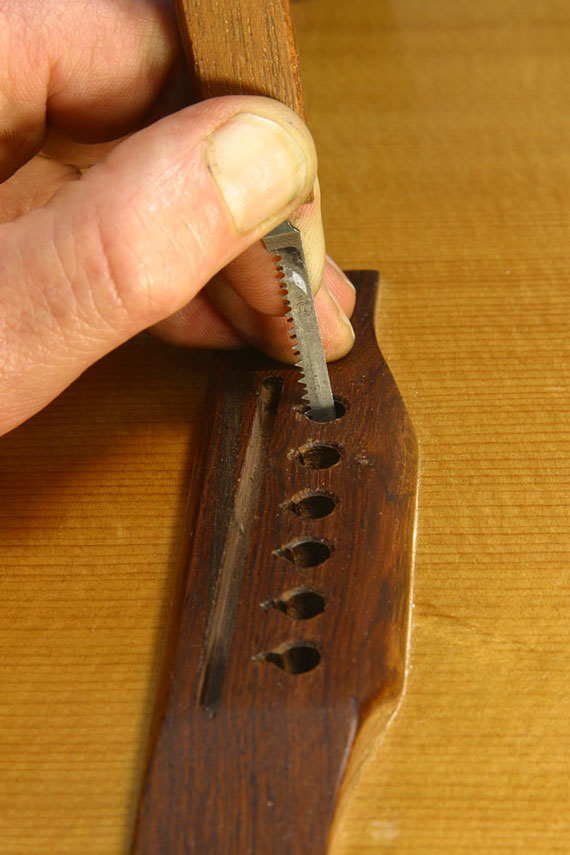
Since the strings are to be reversed in position, I need to widen the slots for the bass strings to fit. The treble strings will sit in slightly wider holes than they need, but there's no harm in that. |
| |
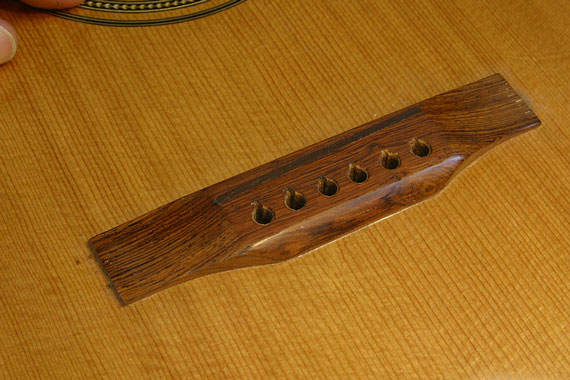
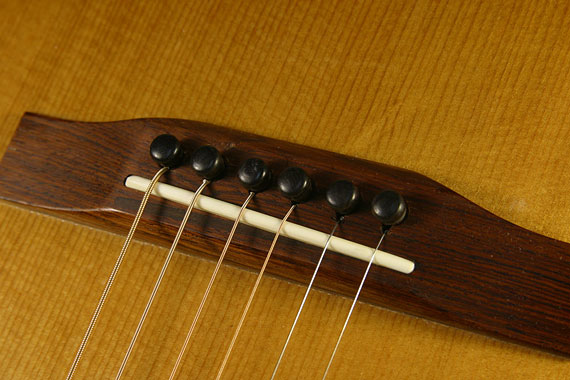
Jumping ahead, here's how the bridge looks all set up. |
| |
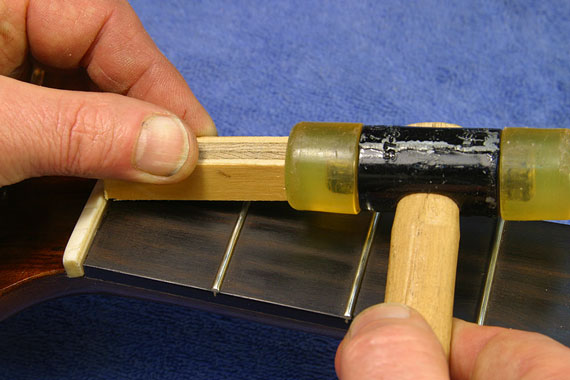
A quick tap loosens the nut. |
| |
The old lifts right out, and it makes a good reference model for me as I make a new bone nut blank to fit. |
| |
Speeding ahead to the end again, I'm setting the final action at the nut. |
| |
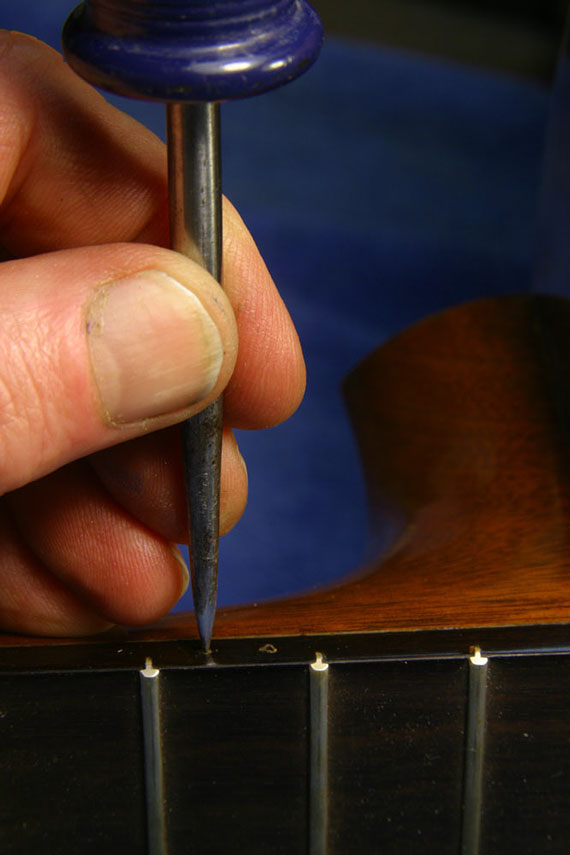
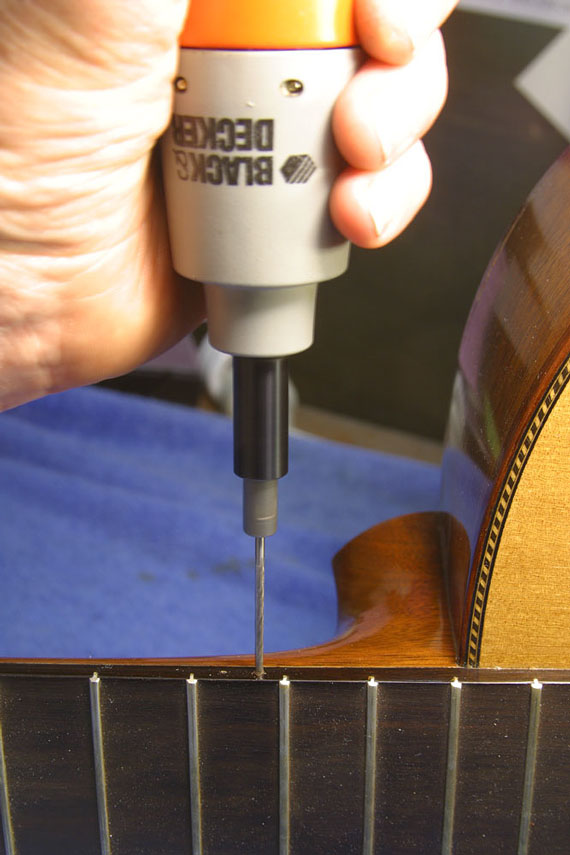
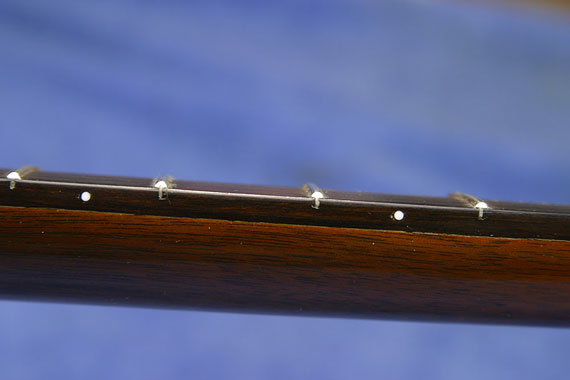
One of the most important "cosmetic" issues is fact that there are no side position markers on the left hand edge of the fingerboard, so I mark the corresponding fret positions. |
| |
A 1/16" drill provides just the right size holes for white dots to match the right hand side. |
| |
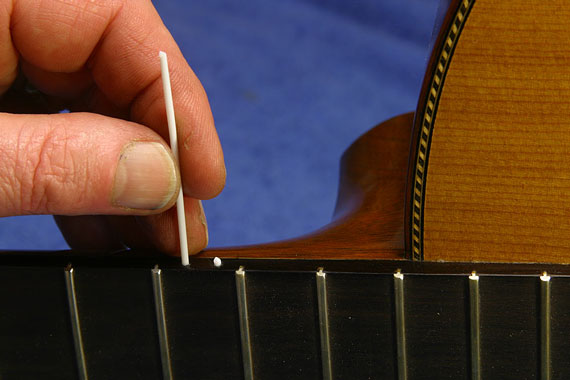
The white dots are actually bits of 1/16" diameter plastic rod, which I glue in place. |
| |
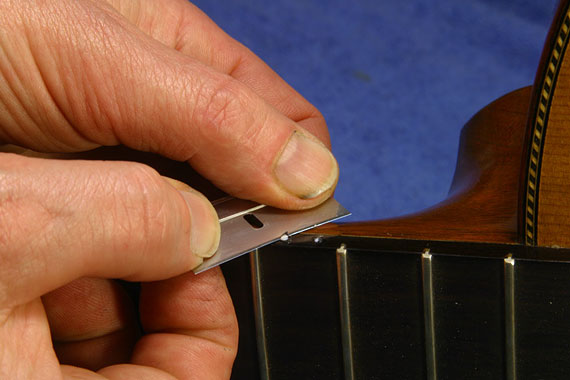
Then, carefully trimming the dots, avoiding damage to the edge finish, I cut them as level as I can. |
| |
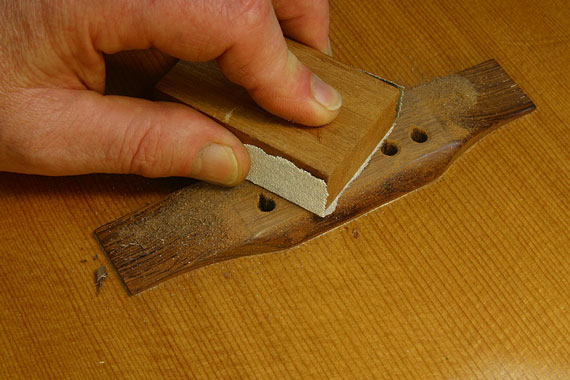
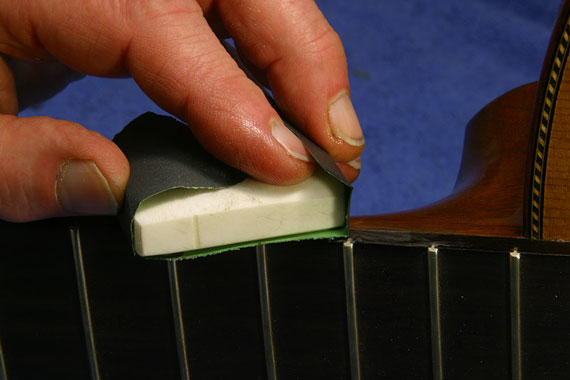
Final leveling is a matter of block sanding with 1200 grit waterproof paper. |
| |
Then, a quick trip to the buffer, and I have a nice set of dots that look like they've been there all along, just like the originals. The conversion is complete. |
| |
What if there had been an original pickguard? Well, here's the classic solution to that problem. . . |